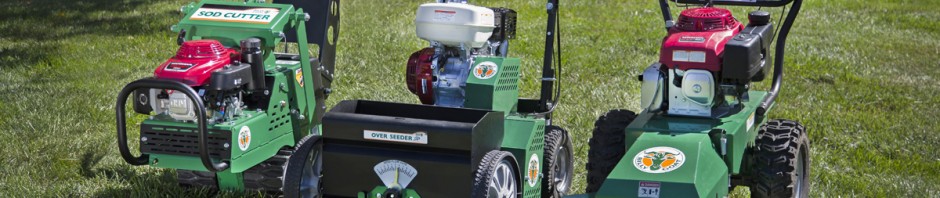
 Do you need help fixing the belts and blades on your Billy Goat Next Gen Hydro-Drive Sod Cutter? Are you having trouble just getting this big machine out of the crate? Here’s what you need to know to get one of these sod cutters running and keep it running, whether it’s the standard SC181H or the version designed for golf applications.
Set Up
1. Open the back side of the crate. You should see the handles of the machine facing the opening.
2. Pull out the lever on the base of the machine directly in front of the handle. This puts the transmission in neutral. Roll the cutter out of the crate.
3. Add oil to the engine.
4. Add grease to the bearings as needed.
Avoid heavy-duty jobs for the first few hours of use to let the mechanical components break in, then adjust the belt and cable control tension.
Maintenance Schedule
Before each use: Check the oil and air filter, and make sure all parts are bolted down and in good condition.
Every 25 hours of use: Change the oil and sharpen the blades.
Every 50 hours: Clean the air filter, and check the traction belts and cables for wear. Grease the jackshaft bearings and rear caster rod.
Every 100 hours: Check the spark plug.
Every 200 hours: Replace the traction belts and grease the upper pinion bearings in the gearbox.
Every 300 hours: Replace the air filter and spark plug.
Replacing the Blade Belt
1. Disconnect the spark plug.
2. Remove the blade guards.
3. Remove the master link from the lower drive chain.
4. Loosen the nuts and bolts on the belt guides, but don’t remove them.
5. You should now have enough space to pull the belt out. Walk the old belt off of the engine pulley, then the gearbox pulley.
6. Unscrew the bolt on the belt engagement pulley, then remove the pulley.
7. Slide the belt out of the machine.
8. Install the new belt in reverse order.
Drive Belt
1. Disconnect the spark plug.
2. Remove the blade guards.
3. Loosen the nuts and bolts on the belt guides, but don’t remove them.
4. Insert a 3/8 inch drive wrench into the square hole in the idler arm. Turn the arm clockwise to release the tension on the belt. Slide the belt out of the machine.
5. Slide the new belt into place. Make sure the spring is still attached to the idler arm: once pressure is released on the arm, it will probably come loose.
6. Follow the previous steps in reverse to finish installing the belt.
Checking and Replacing Blades
The blades should be inspected before each use. Always stop the engine and check the blades after the machine strikes a stump or other hard object. Wear thick work gloves when handling the blades to prevent cuts.
To access the blades, disconnect the spark plug and raise the blades to the maximum cutting height.
Replace the blades if they are cracked, bent, worn down or broken. Blades should be a minimum of two inches wide. Likewise, both the blade and blade bolts should be replaced if the bolts are worn. Always use new bolts when replacing the blades.
When installing new blades, torque the blade bolts to 26-28 ft-lbs.
Lubrication
Billy Goat recommends using an NLGL Grade 2 lithium-based grease when lubricating the pinion bearings, jackshaft, rear caster rod and cables. For the best results, use a synthetic grease. A diagram with grease points can be found on the service label. This label is on the base of the sod cutter.
Cable Adjustment
To check cable tension, set the machine on flat ground, shut off the engine and disconnect the spark plug. The control should be fully disengaged when the lever is opened, and start engaging as the lever is closed. Twist the barrel adjuster next the handle to increase or decrease tension. Once the cable tension is correct, apply grease to the cable slots in the drive levers.
Need Something for Your Billy Goat Sod Cutter?
Billygoatparts.com have everything you need for your Billy Goat equipment. As an authorized dealer for Billy Goat and their manufacturing partners including Honda Engines, we’re able to ship the OEM parts and accessories you need to any address in the U.S. or Canada. Ordering is easy: just select your model and serial number, and our site will show you compatible parts with factory descriptions and parts diagrams. That way you can be sure you’re ordering exactly what you need.
