
 The PL1800 may deliver professional quality aeration, but this compact aerator’s simple mechanical drive makes it easy to work on. Here’s what you need to know to get a new PLUGR set up and keep it running.
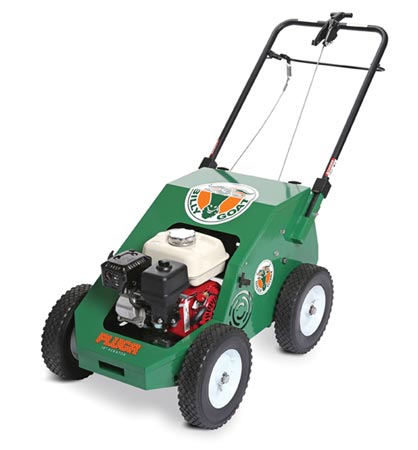
Assembling Your Aerator
1. Oil and gas need to be added to the engine before starting it. Check the included engine owner’s manual for instructions.
2. Attach the tine lift cable to the tine lever in the center of the handle. Insert a pin through the cable and tine lever to secure the lift cable. This pin is included in the parts bag.
3. Attach the bail cable to the bail. The end of the cable slips into a hole on the side of the bail.
4. Connect the spark plug wire to the plug.
Now is a good time to record the model and serial number of your aerator and its engine. Billy Goat puts the model information on a plate, typically on the back of the aerator. Briggs & Stratton prints model and serial number information on either the front of the engine or next to the muffler. Honda stamps the serial number into the side of the engine block.
Maintenance Schedule
Daily or before each use: Check the engine oil level and clean off any debris.
Every 10 hours: Inspect the aerator for loose or damaged parts and grease the cam bearings.
Every 50 hours: Check the drive belt for wear.
Every 100 hours: Replace the tine bushings and grease the shaft and wheel bearings.
Tine Replacement
1. Loosen the jam nut on the tine, then unscrew the tine.
2. Screw the new tine into place as far as it will go, then tighten down the jam nut.
Belt Tension Adjustment
The belt needs to be tightened if the engine isn’t powering the wheels when the drive control is engaged. There should be a little slack in the belt to reduce strain on the engine and drive bearings.
1. Loosen the engine mounting bolts.
2. Slide the engine to change the tension, then tighten down the mounting bolts.
Drive Belt Replacement
The camshaft is very heavy and should be supported by a hoist during this repair.
1. Disconnect the spark plug.
2. Remove the lower and upper tensioner brackets.
3. Slide the belt off of the engine pulley.
4. Attach the hoist to the camshaft to support it. Remove the four bolts, washers, and nuts that attach the cam bearing to the frame.
5. Lift the camshaft out of the frame and remove the belt.
6. Slide the new belt onto the camshaft pulley, then follow the previous directions in reverse order to reassemble.
Troubleshooting
Engine won’t start:
– Make sure the stop switch on the handle is set to “On.”
– Set the throttle to “Fast.”
– Close the choke.
– Make sure the spark plug is connected.
– The Oil Alert system on the Honda-powered PL1800H will cut the ignition if the engine oil level is too low. Check the oil level.
– Use fresh fuel. Fuel should be used within one month of purchase, or within three months if it was treated with a stabilizer.
– Make sure the air filter is clean.
Machine vibrates abnormally:
– One or more tines are damaged or missing and need to be replaced.
– Bolts are loose on the handle or engine.
Engine stalls or slows when aerating:
– The aerator is on too steep of a slope, causing fuel starvation. Try rolling up and down hills at a 45-degree angle instead of moving straight across.
– The oil level is too low.
Engine is locked up:
– Check for debris around the reel
– Have the engine serviced
Aerator doesn’t move when the drive bail engaged:
– Increase drive belt tension
– Inspect the belt, pulleys and clutch cable for wear and damage.
Need Something for Your Aerator?
Billygoatparts.com is an authorized dealer for Billy Goat, Briggs & Stratton and Honda Engines, letting us offer OEM replacement parts for everything on your PLUGR aerator. Our site has built-in factory diagrams and descriptions, making it easy to find what you’re looking for. We ship across the U.S. and Canada.
